How to Copy an Object from One Photo and Paste to Another
In this short tutorial, we'll learn how to select a part of one image and move it to another image. To do so, we'll be using the PhotoScissors tool.
Step 1: Load the photo
Open the photograph with the object you want to add to another picture. PhotoScissors immediately start the processing and automatically extract the object from the background.
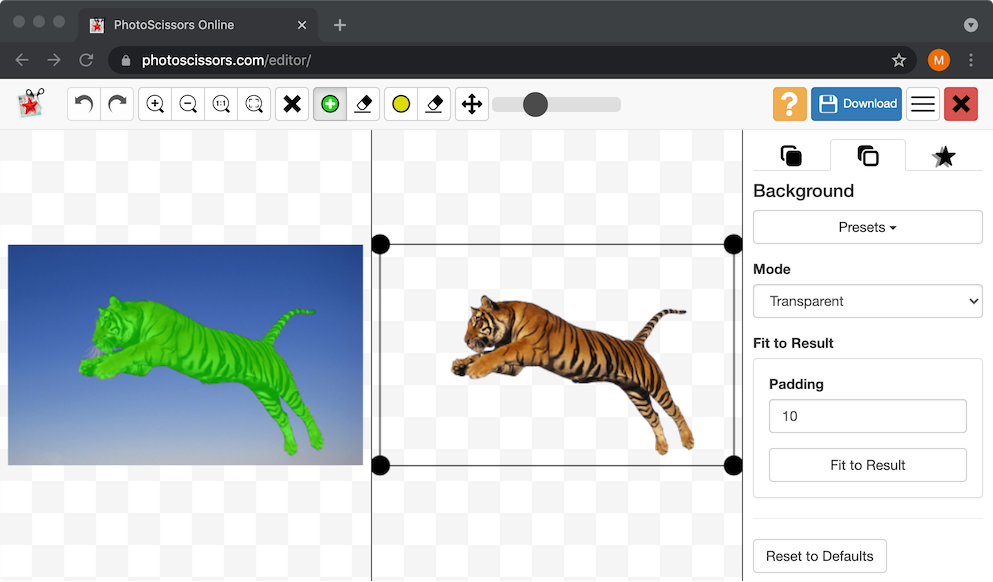
If you aren't satisfied with the result, simply correct the result using green marker and eraser tools. Adjust the size of markers using the toolbar slider if necessary.
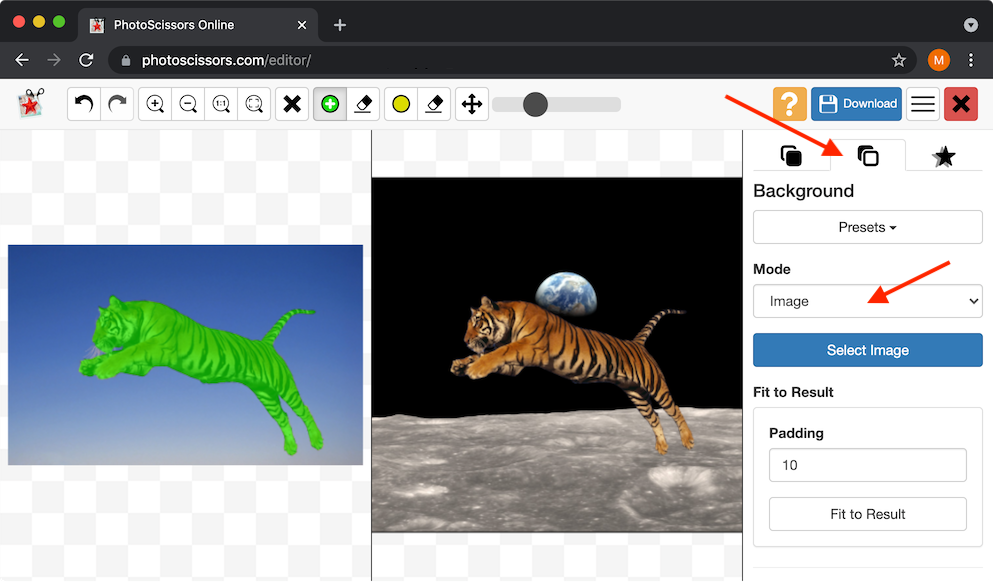
Step 2: Add an object to another image.
Now, you can insert an extracted object into another photo. Switch to the Background tab in the right-side toolbar:
Here, you need to select the "Image" mode. This allows you to change the whole background with another image. Click Change and browse for an image where you want to insert the object.
Step 3: Resize and position the object in the new image
To move the object, simply switch to the Foreground tab, then drag or resize the object on the right side.
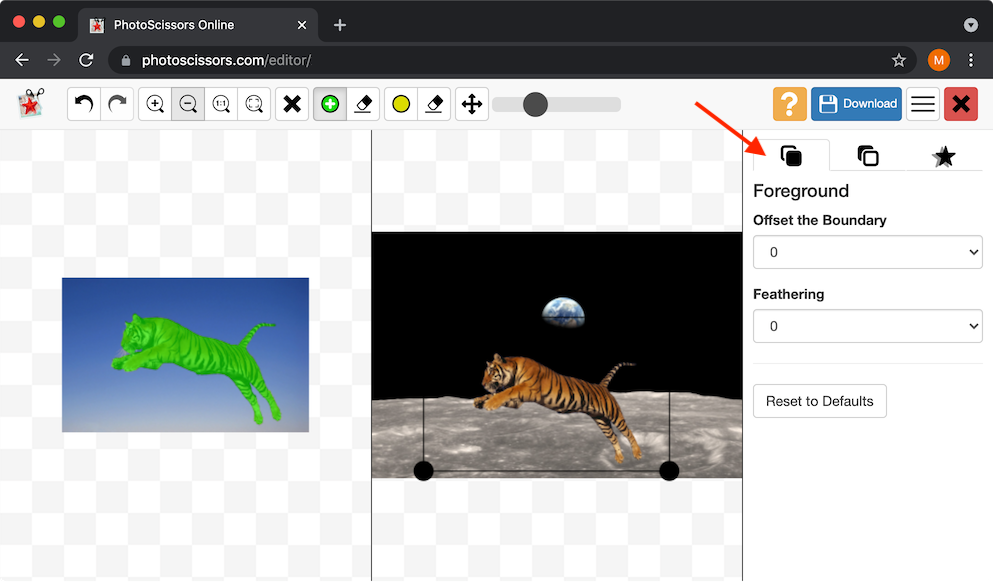
That's it! The object was copied to another picture in a 3 simple steps. If you want to continue and place more objects on the scene, just save this image, open another image and substitute the first image as a background the same way as described. Good luck!
Customer Feedback:
It's great for people who don't know - or don't want to learn - how to use Photoshop and the results are better than a beginner could obtain in Photoshop.
John S.