How to Use an Alpha Mask from PhotoScissors in Adobe Photoshop
Why do people need to remove backgrounds from images? One popular use is creating alpha masks. That is, you take an image and turn it to a mask you can later apply in your other works. The manual way to create an alpha mask is not too hard, but still requires some skills and experience. And if you lack some, PhotoScissors is a viable option for you.
Here is how you can create an alpha mask in PhotoScissors and import it to Adobe Photoshop.
Step 1: Remove background
Using PhotoScissors, remove the background from the image. If you need a step-by-step guide on how to do this, please refer to this tutorial.
You should end up with something like this:
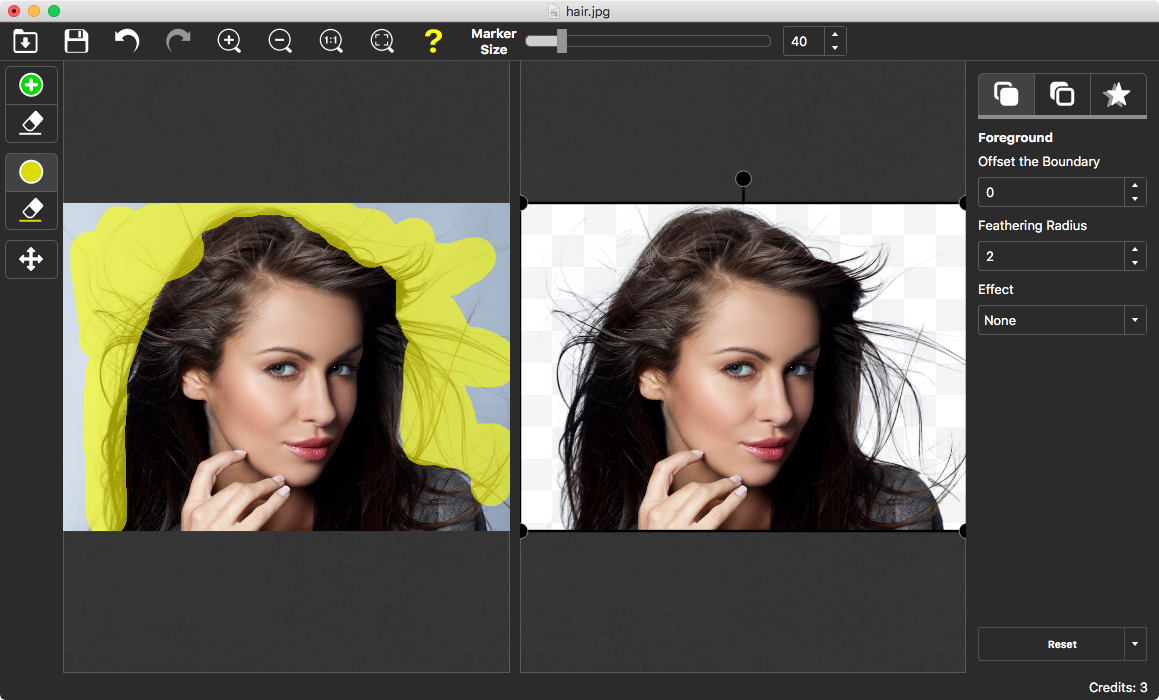
Green zones denote foreground and the yellow zones are for semi-transparent areas. The resulting image with a transparent background is displayed at the right.
Step 2: Save the alpha mask
Save the resulting image as an alpha mask using Edit->Save Alpha mask menu.
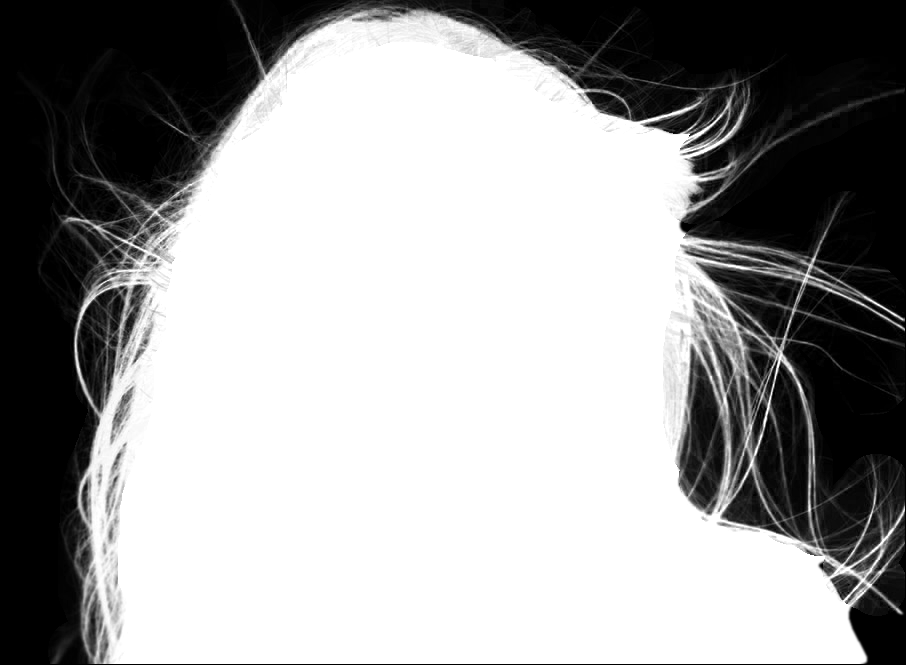
PhotoScissors automatically transforms the transparency channel of the image to an alpha mask.
Step 3: Use the alpha mask in Photoshop
Photoshop can apply transparency masks to entire layers. This is called layer masks. A layer mask control the level of transparency of its parent layer. This is literally all the layer mask does. And the process is as simple as adding the mask to the layer.
Let's see how you can apply an alpha mask to the image. Load the original image to Photoshop.
Then, load the file with the mask we received on Step 2 to Photoshop.
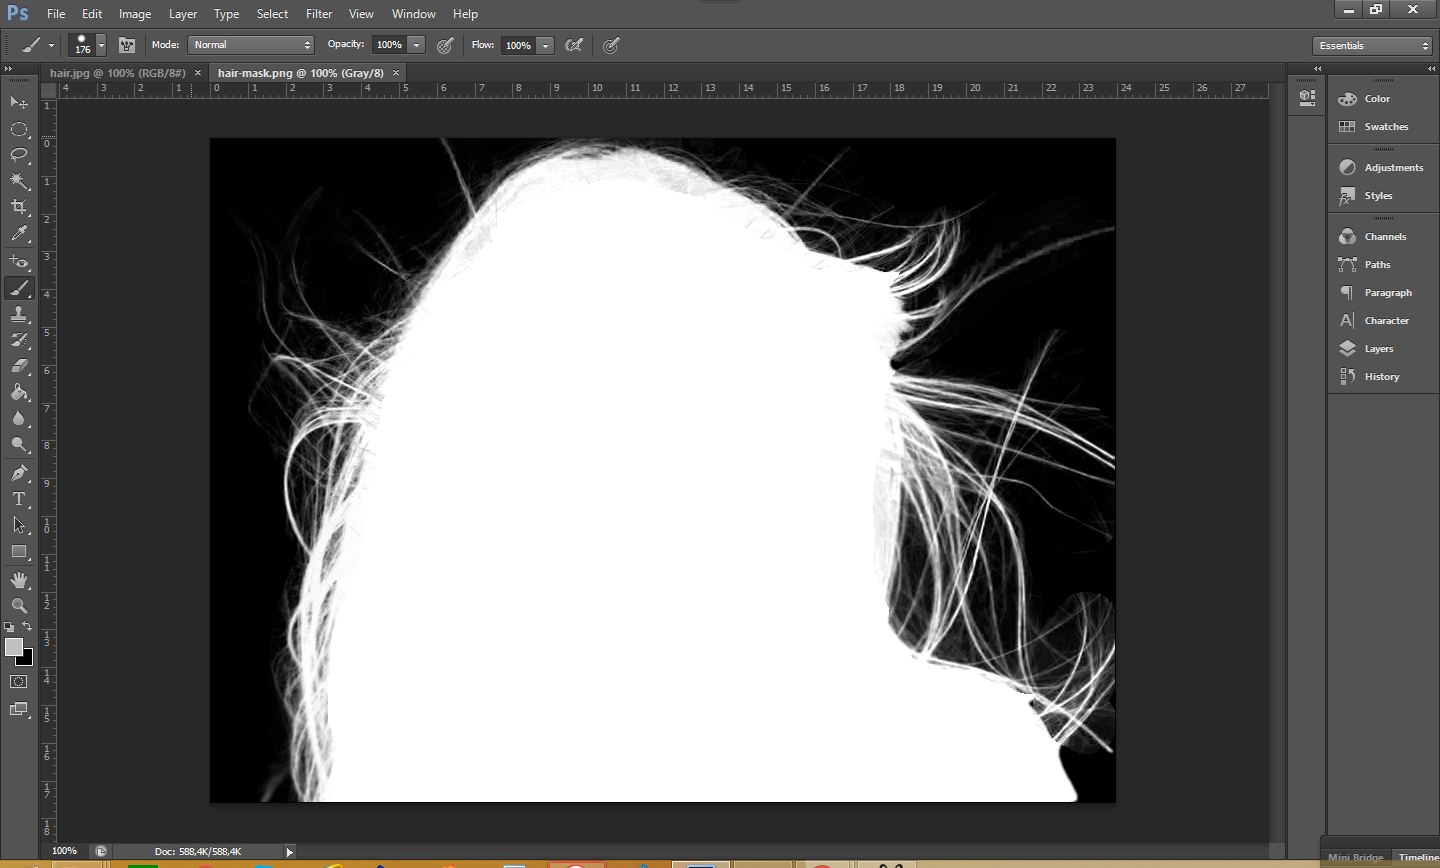
1. Select the mask (Select->All, Ctrl+A on Windows, Command+A on Mac).
2. Copy the mask (Edit->Copy, Ctrl+C on Windows, Command+C on Mac).
This will copy the mask to the clipboard.
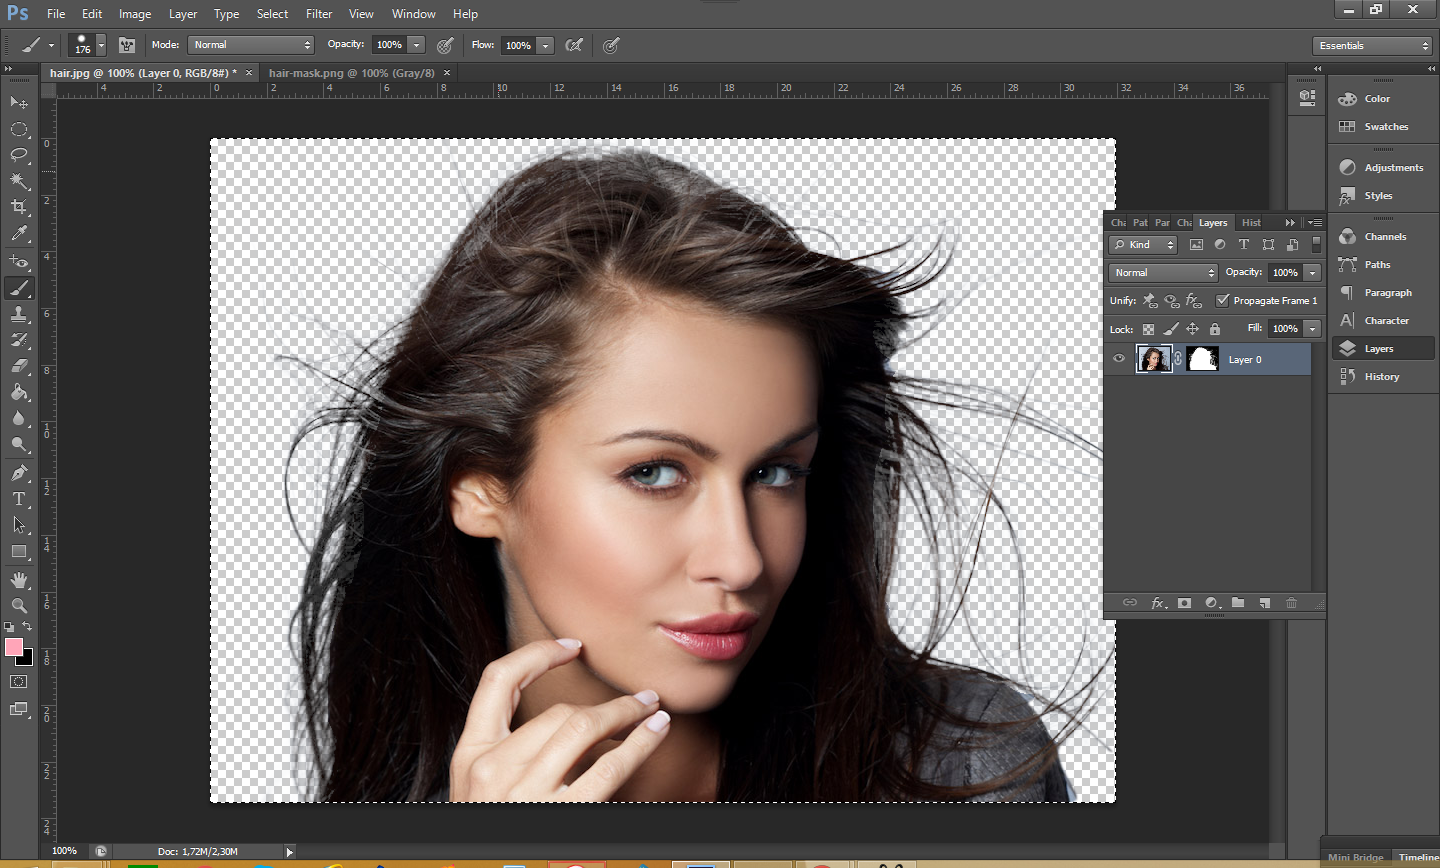
3. Now, switch to original image and click the Add mask button:
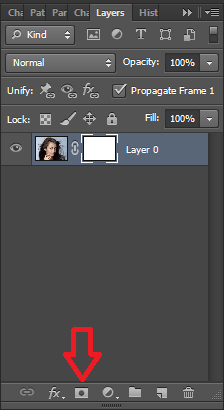
An empty mask will be added to the layer.
4. To edit the mask, click its thumbnail while holding Alt on Windows or Option on Mac.
5. Now, paste our mask from the clipboard (Edit->Paste, Ctrl+V on Windows, Command+V on Mac).
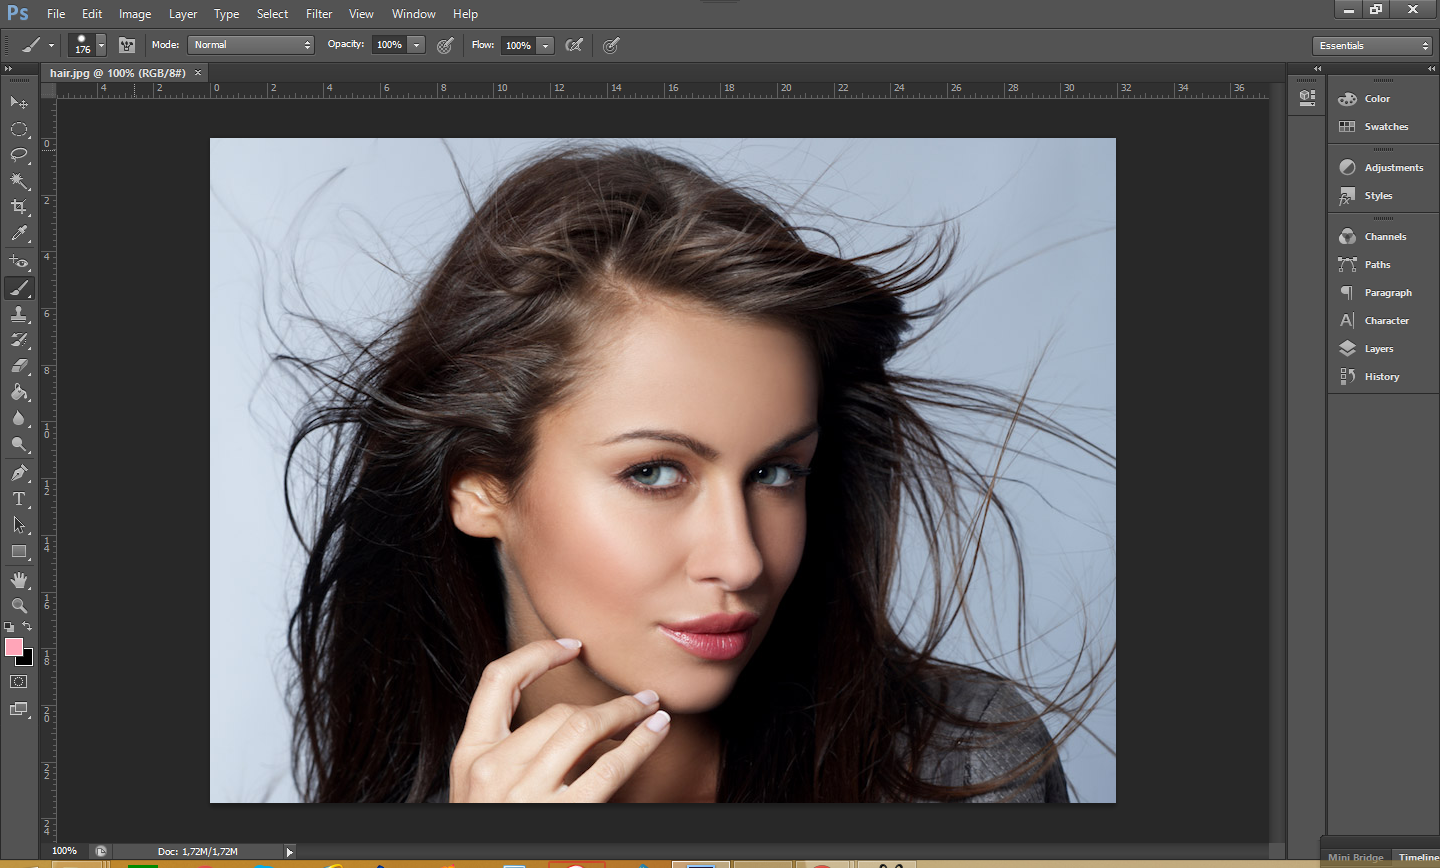
The mask is added to the layer. If you switch to the main image, you can see Photoshop has applied the mask: