Out of Clear Blue Sky: Replacing Skies
Imagine: a scenic landscape and picturesque surroundings, ideal shooting angle and a well-shot photograph overall. But there is one thing that spoils the composition: the sky. Not that it looks bad, but it simply doesn't look just like it should. Whether it was a bad white balance, or a wrong exposure mode on the camera - the result is here tormenting your sense of beauty.
Now you can fix too dark or too light or too boring sky with PhotoScissors. The whole operation takes just three steps and about the same amount of minutes. Here is how to replace the sky on the photo:
Step 1: Run the app and load the photo
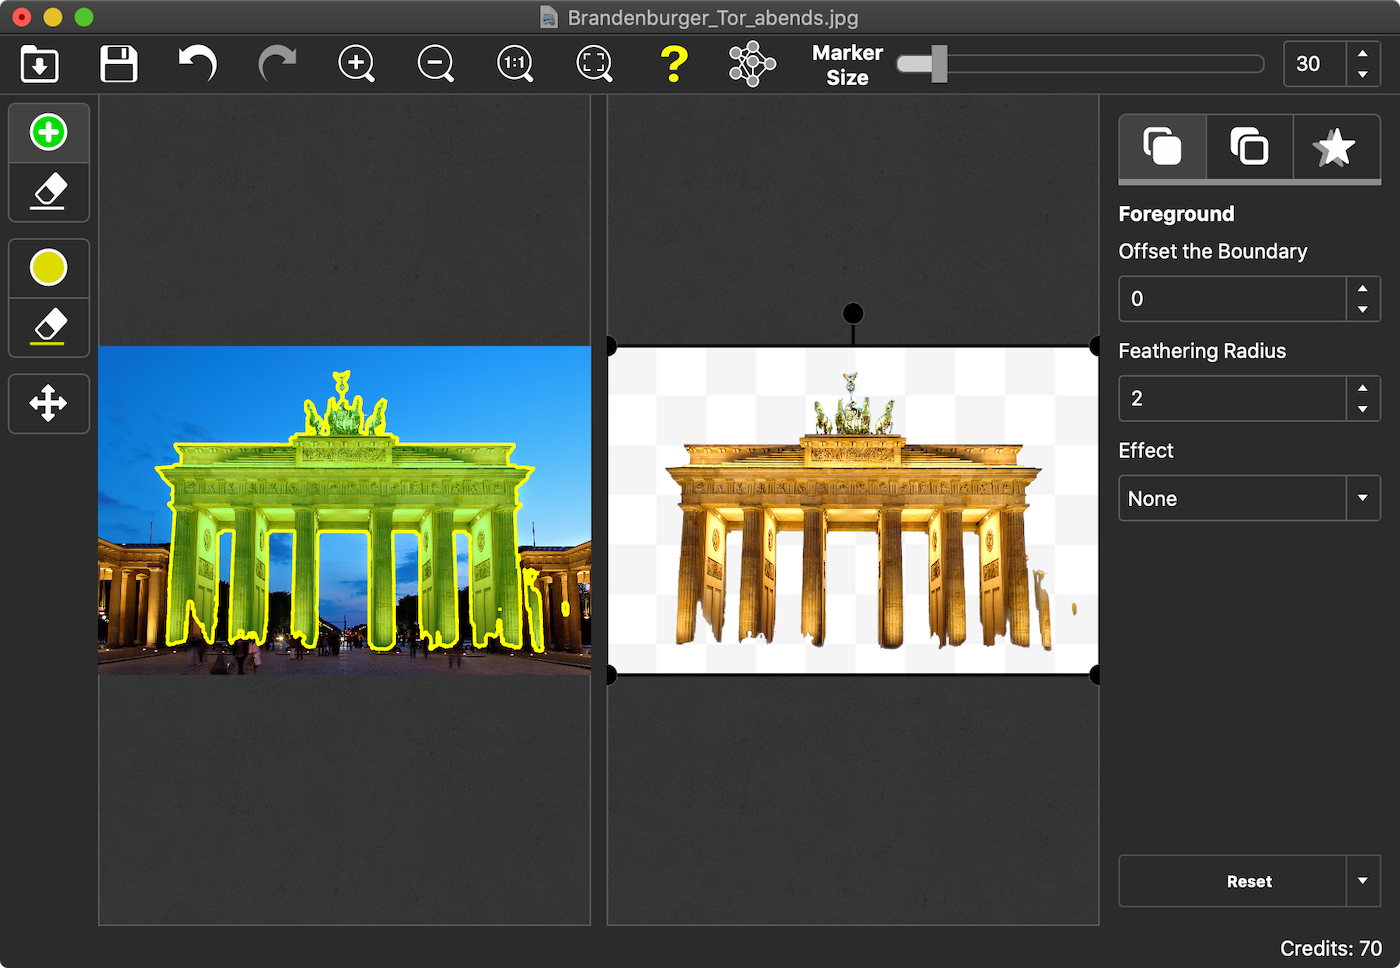
Start PhotioScissors and load the photo you want to fix using the Open button, the File menu or the drag-n-drop.
PhotoScissors automatically trying to find main object and show result without background at the right side.
Step 2: Select the sky
Enable "Group by Color" feature and using green marker select where foreground is.
Optional switch to the red marker and make a few strokes to tell the application where the background (the sky) is.
You should end up with something like this:
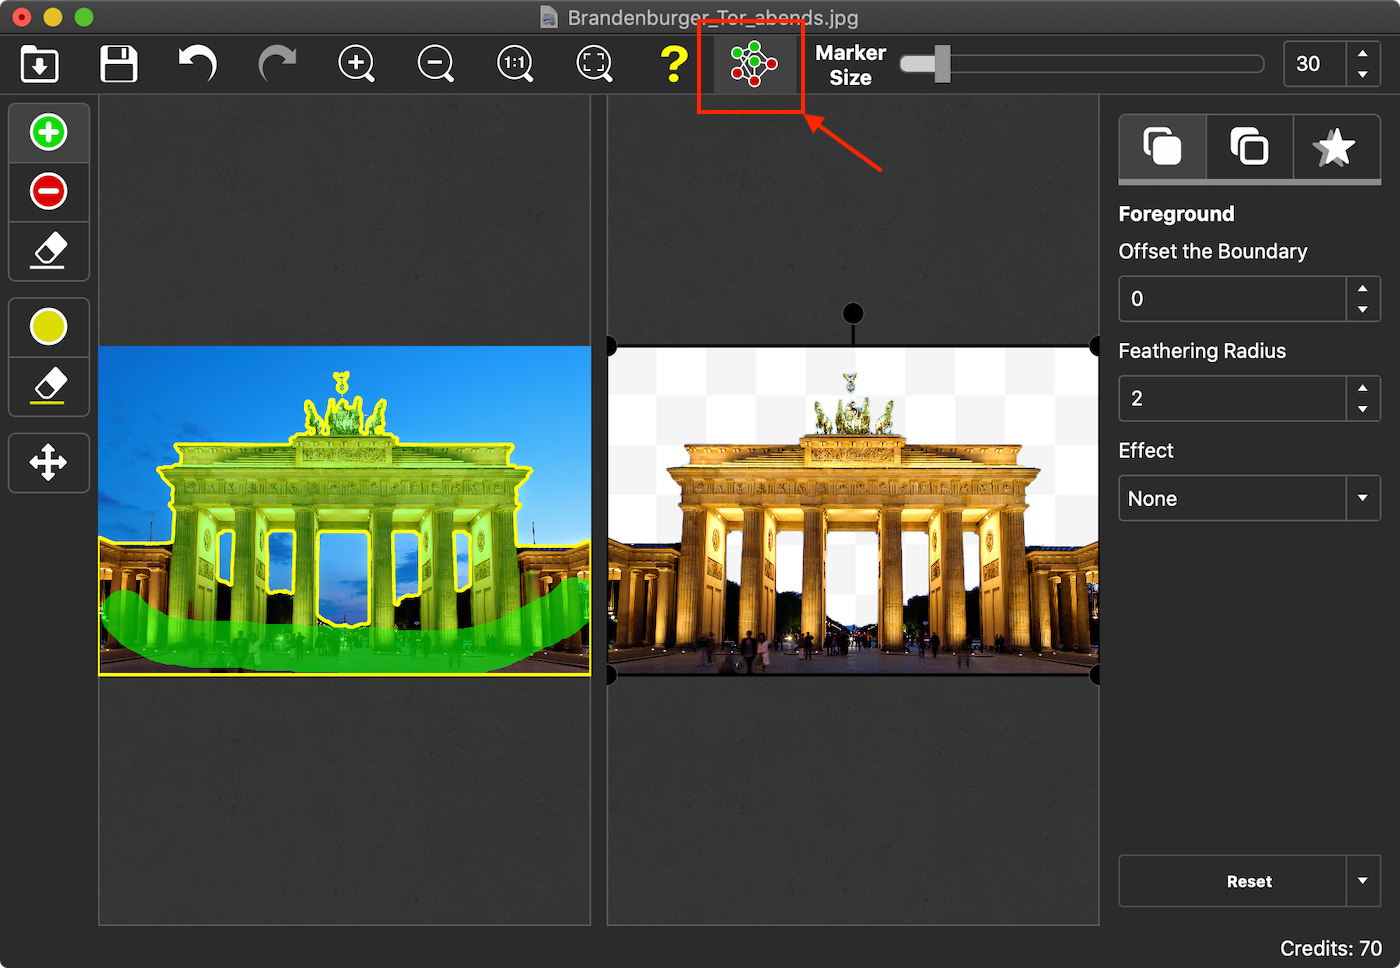
Note how PhotoScissors automatically distinguishes between the foreground and the background while you draw.
Step 3: Make the sky look better
Ok, we have selected the background and now we can make it look better. Switch to the Background tab on the right toolbar. For the sake of this example, we will replace the original sky with another image.
Select the "Image" mode. Then click Change and browse for the donor picture.
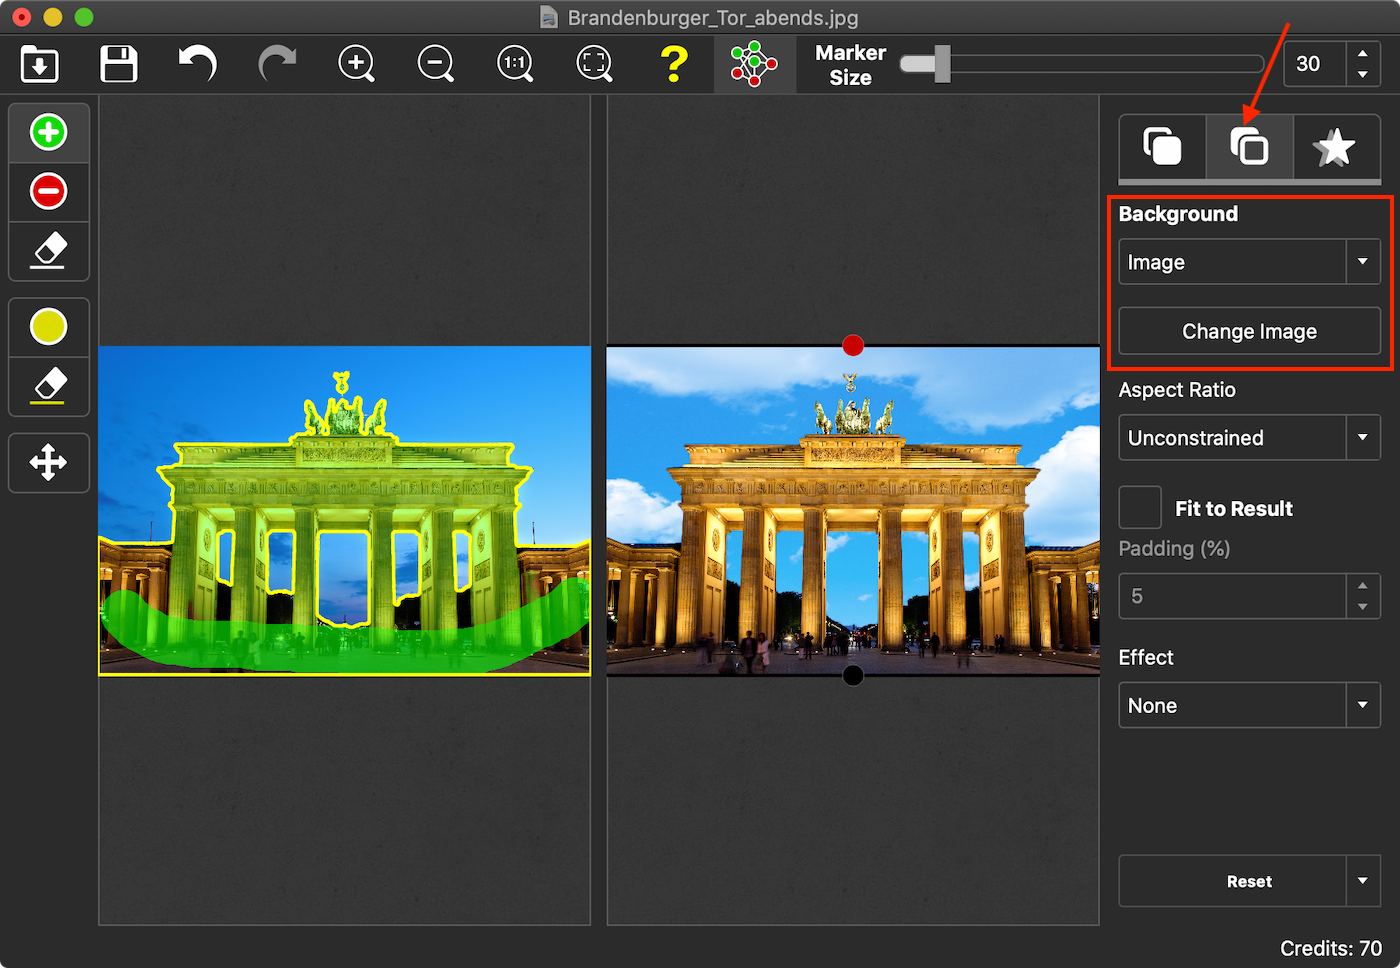
PhotoScissors applies this picture as the background of our original photo replacing the non-ideal sky we wanted to change.
You can adjust picture position and size or make it fit the photo. You can also apply a certain effect to our new sky using the Effect dropdown.
Now that's the sky! Looks better, isn't it?