How to Displace an Object on the Photo
One thing PhotoScissors does really great (aside from removing image backgrounds, of course) is displacing foreground objects all around the photo. Imagine: you have an otherwise excellent photograph, but there's the problem: the main object on the picture looks like it doesn't belong here. Whether it was a bad camera angle, or a mistook shoot, sometimes you just want the photo to look better than it is.
So, here is how you can magically move an object on the photo to another place while the background remains intact.
Step 1: Open the image
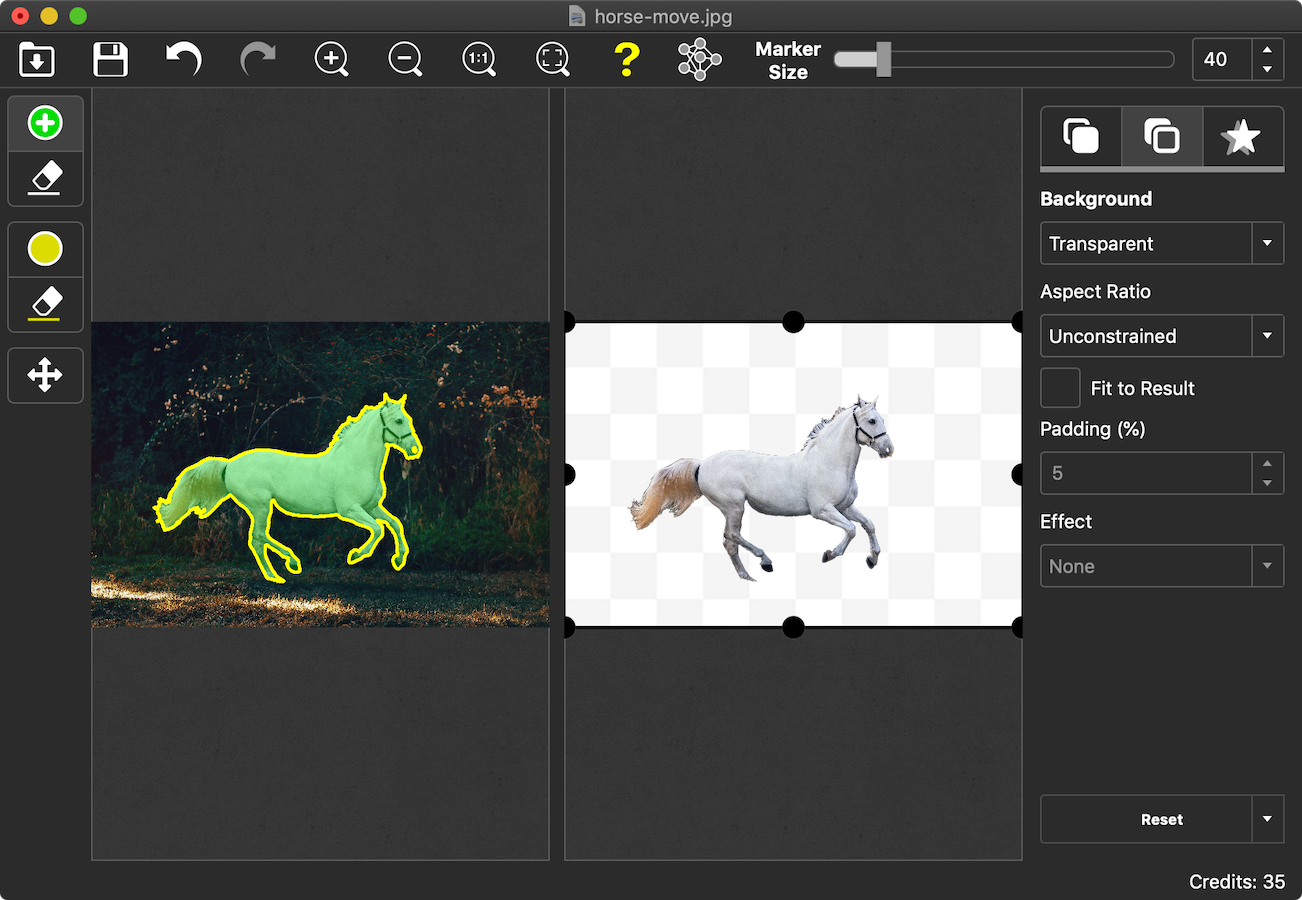
Open the image you want to fix using the toolbar button or the menu, or simply drag and drop the file to PhotoScissors.
PhotoScisors automatically remove background and you will see the result instantly at the right window.
Step 2: The magic part starts
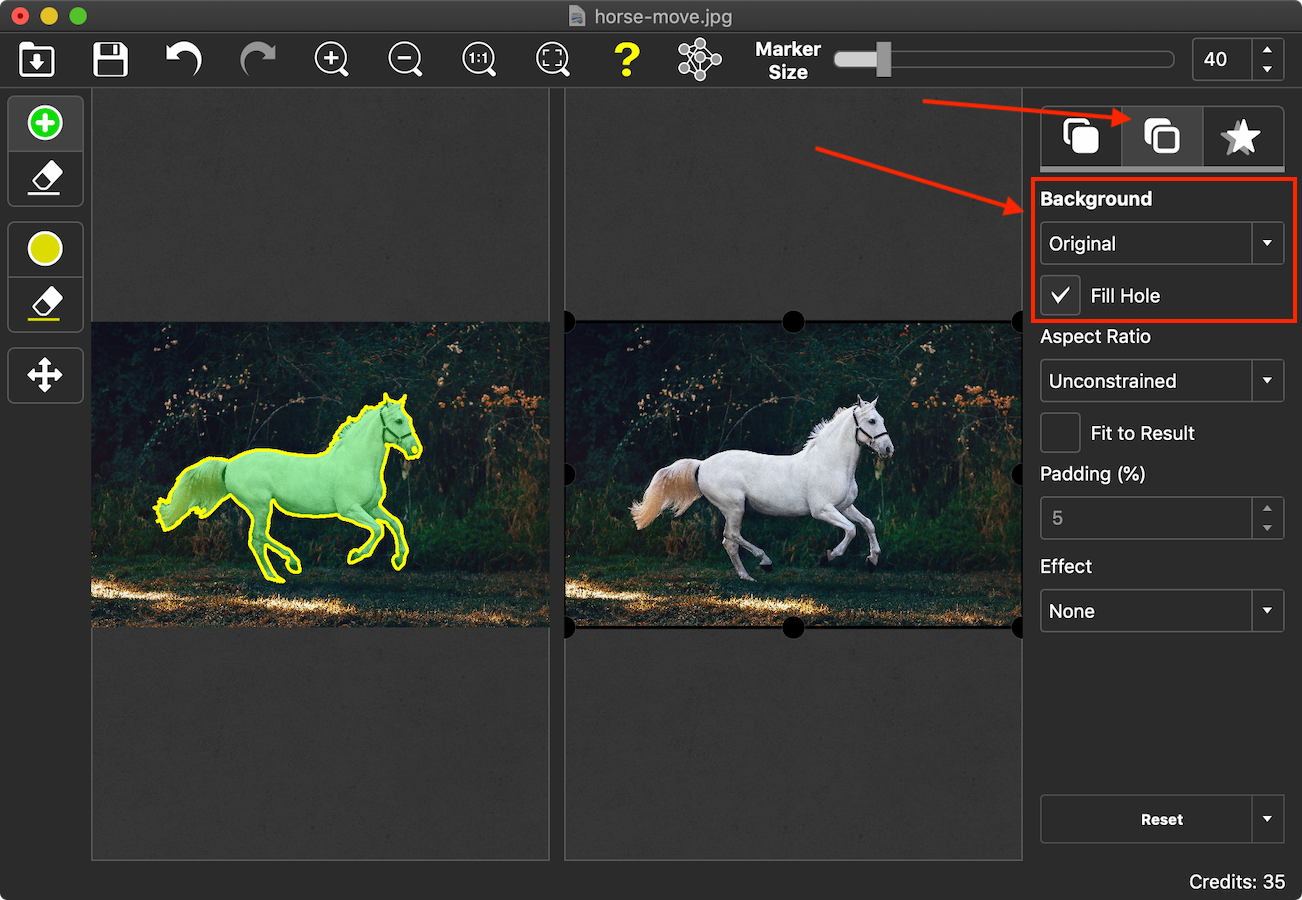
The option is called "Fill Hole". When this option is on, the program will use the surroundings to fill the hole left by the foreground object.
Now, switch to the background tab at the right and select "Background: Original" and check the "Fill Hole" option.
Step 3: Move the object
Switch to the foreground tab, grab the object with the mouse and drag it to where you want it to be.
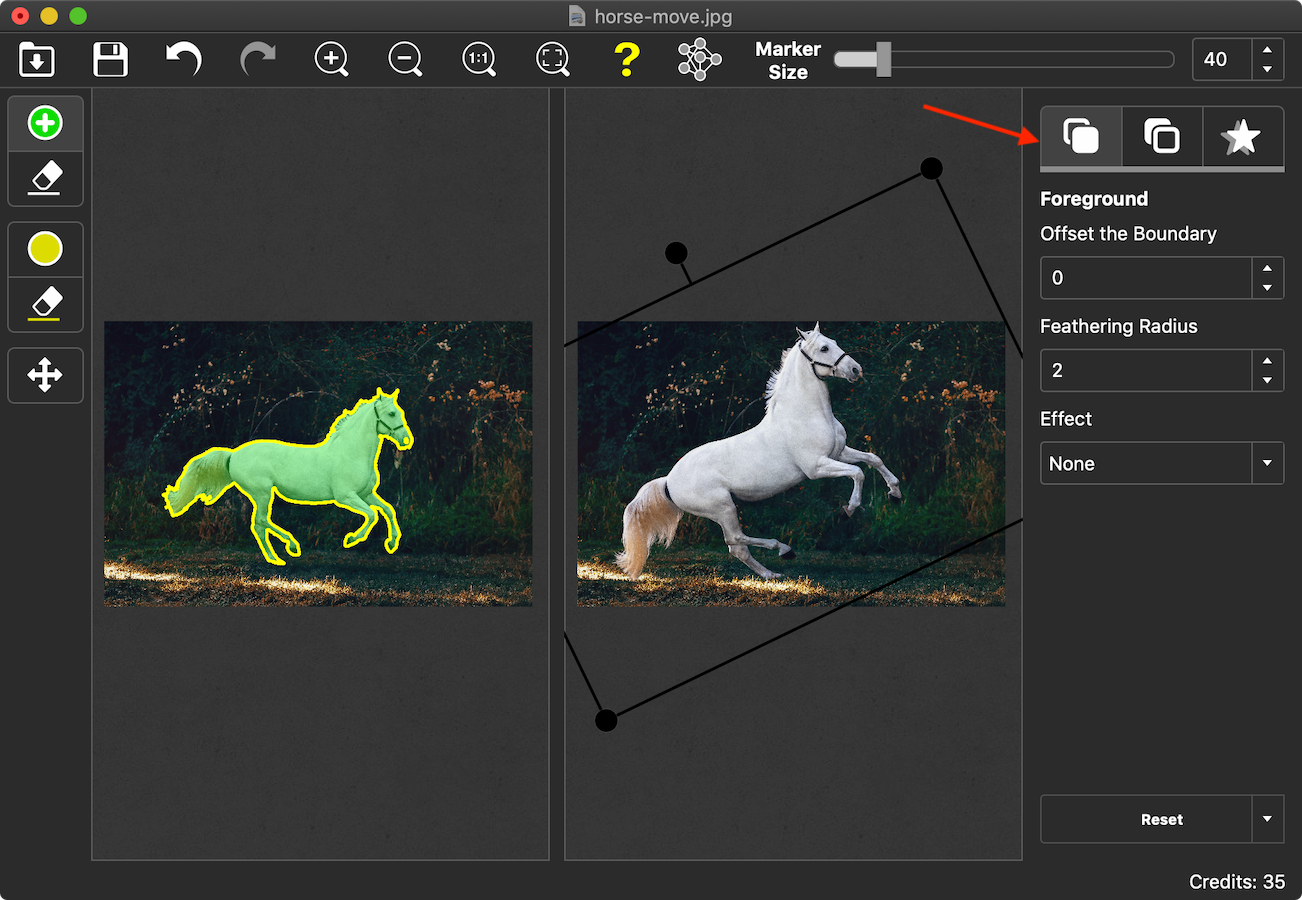
For the perfect result, make sure the foreground mask is accurate. Otherwise, you may end up with leftovers of the foreground object and the hole will be filled incorrectly.
Note that you can move the object, resize it and apply additional filters to it to make it fit its new place better. For example apply a certain effect.
As you see, moving an object to another place on the photo is faster than you might think when you are equipped with PhotoScissors.
Video:
Watch the software in action: how to move people and objects in your photos.