How to use "Group by Color" feature
What to do if automatic removal of background in PhotoScissors didn't produce a satisfying result? In this case automatic algorithms of PhotoScissors simply cannot effectively distinguish the backstage from the central figure. Hence the final result may look inaccurate, with ragged boundaries, or you can see leftovers of the background that the program mistook for parts of the foreground object.
Don't feel upset though, there's still an easy solution. You just need to help the program a bit and edit the background and foreground masks manually.
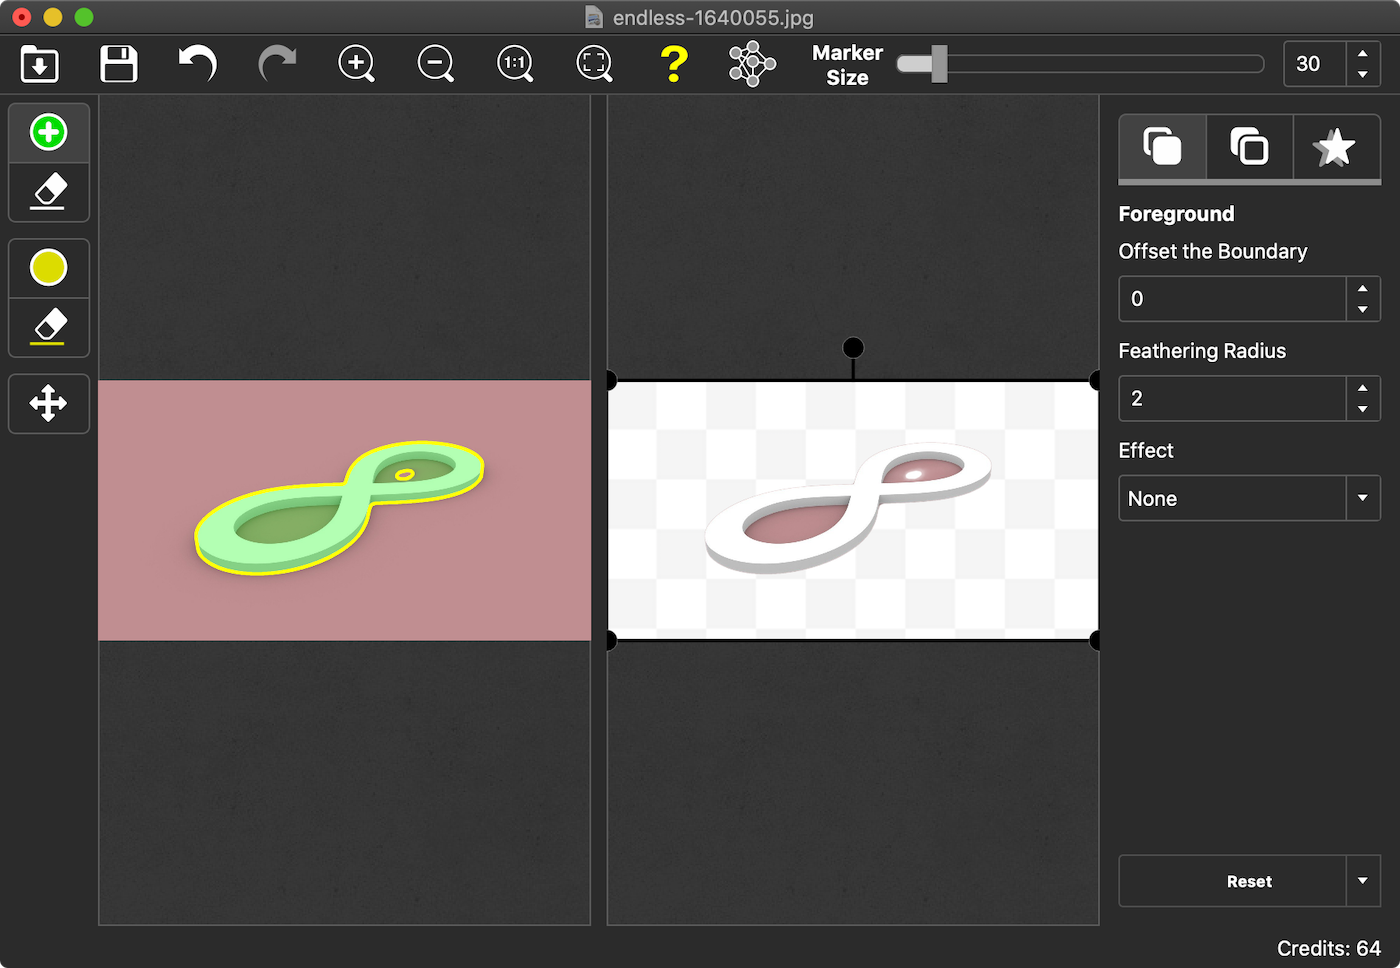
PhotoScissors found main object and remove background around it, but the automatic algorithm detected the holes as a part of the foreground image, which is not so.
Instead of drawing holes manually we enable the "Group by Color" mode and tell the program to exclude this part of the image. This mode works well when the foreground object and the background have a different color gamma.
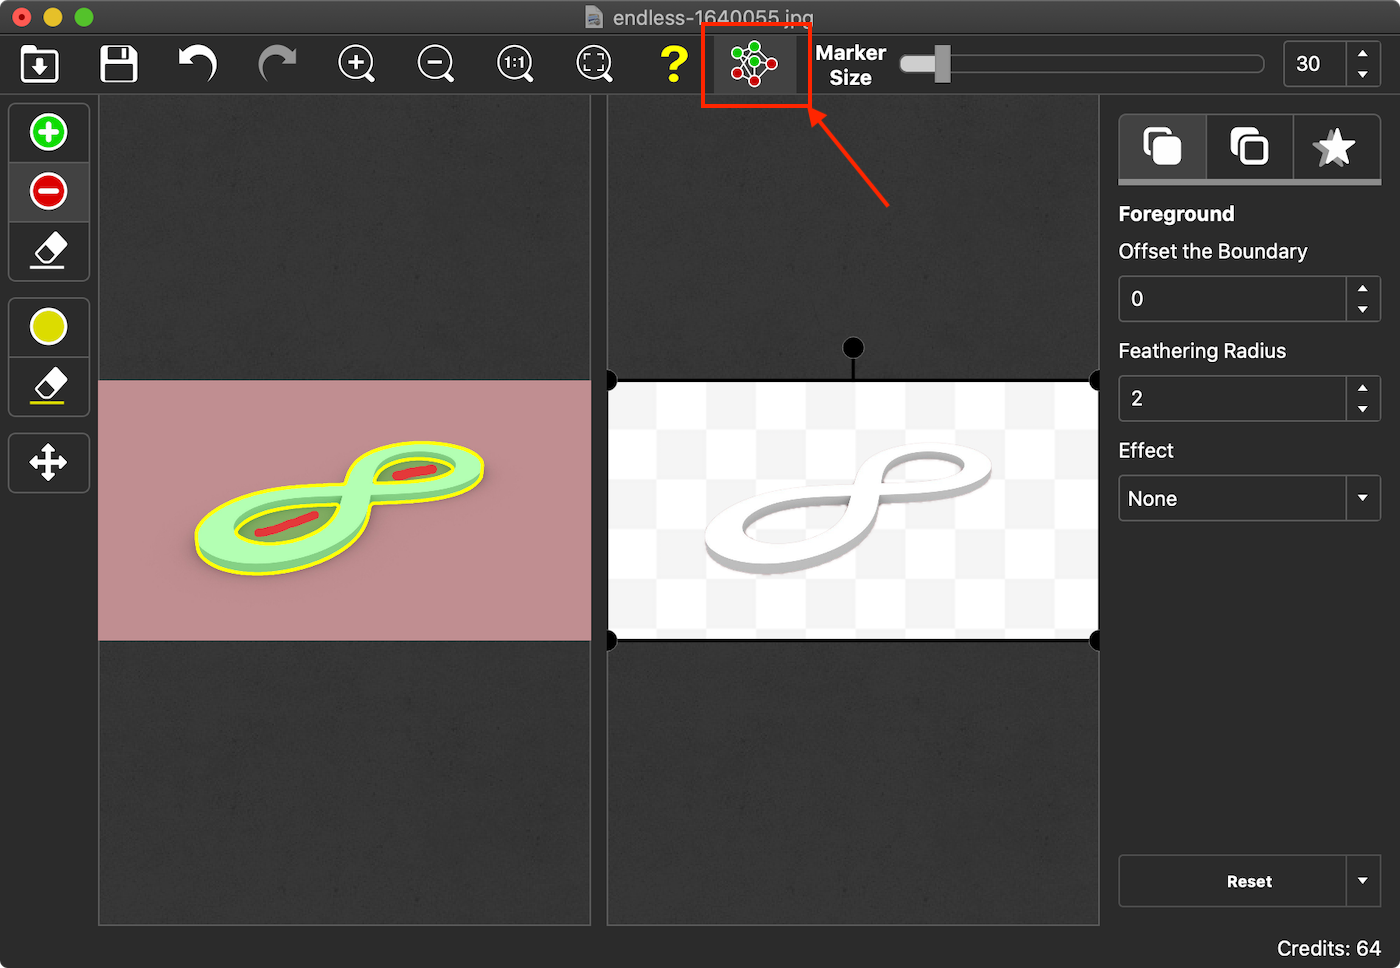
With red and green markers paint a few rough strokes to indicate the background and the foreground areas. PhotoScissor automatically cuts out the foreground object as you do and displays the result in the right window.
Keep adding green or red marks until you see the result that feels good for you.
Excellent! Now the result is just what we want it to be. As you see, manual editing of the photo background is easy enough with PhotoScissors.
The right toolbar contains settings of the background and foreground. They include "Offset the Boundary", "Feathering Radius" and "Effect". Combined, they allow you to polish the final result and produce spectacular artistic impression.