How to Blur Background and Increase Depth on Photos Post Factum
Why would anyone need to increase depth of field on photos in the first place? Photographers often use the depth of field (also called depth resolution) as an art technique to draw attention to the object in focus and blur the background. But what if you already have taken the photo? Or what if the specs of your camera do not allow producing the blur effect you need?
There is still an option for you. Simply use retouching to increase depth on the photo. And in fact, PhotoScissors is one of the easiest ways to do this. Pro-level tools like Photoshop require a decent skill to achieve the result you will find satisfying. While PhotoScissors requires as little as few mouse clicks to blur the photo background and increase the depth of field on a photo. Here is how you can do this, step by step.
Step 1: Load the photo
Use the open button on the toolbar to load a photograph to PhotoScissors.
PhotoScissors will remove the background from an image and display at the right side:
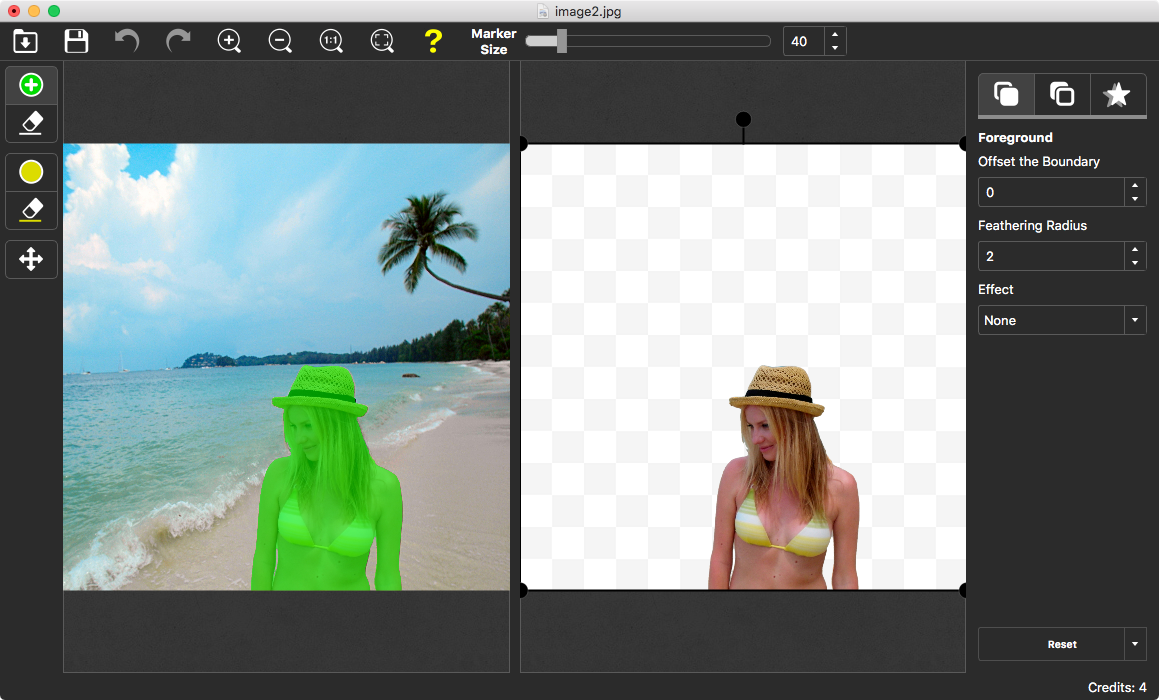
You can correct the result and the program immediately applies changes.
Step 2: Blur the background
To make the background less focused, we need to apply the Blur effect to it. Switch to the Background tab on the right-side toolbar. We don't want to replace or remove the background, so select "Original".
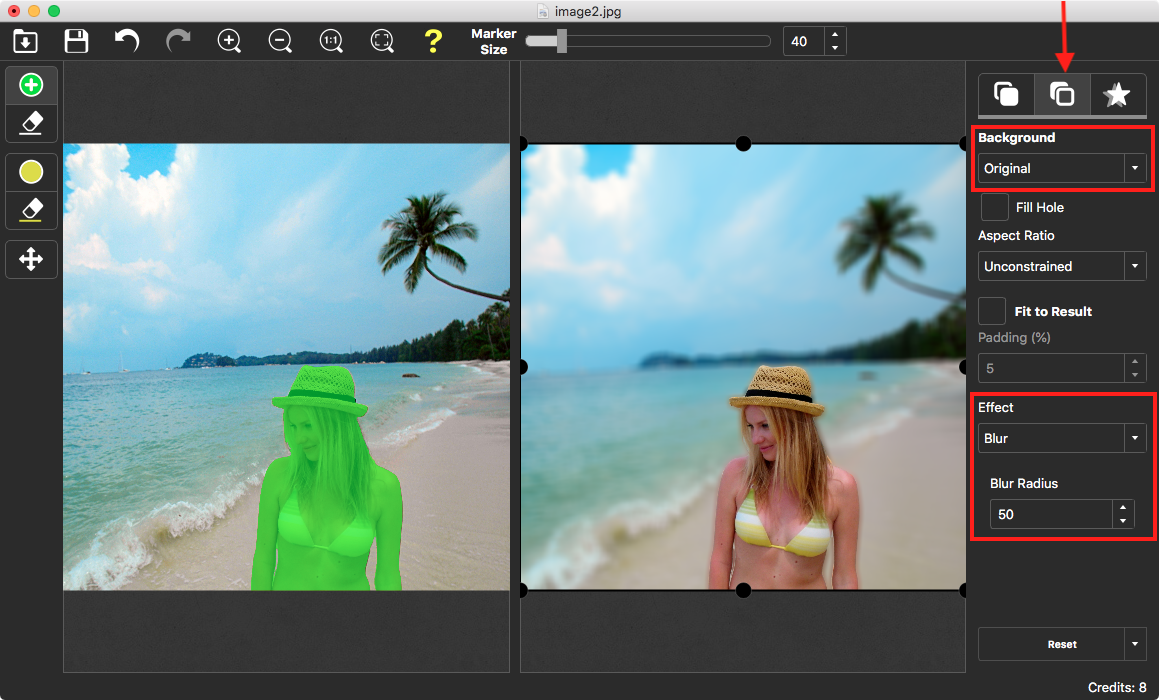
Below, in the Effect dropdown list, select Blur and specify the Blur Radius.
Fine! The photo now looks much more artistic and professional, even though it was taken on the camera of a smartphone!
The same way using PhotoScissors you can replace the background or completely remove it when you need a picture with transparent background.